FFmpeg · SRT
Connect FFmpeg to a VideoSupporterSoft SRT app
Send an FFmpeg test source to SRT Preview, or receive and save an SRT USB CAM stream with FFmpeg.
SRT needs one endpoint in Caller mode and the other in Listener mode. The examples below use one Windows PC and UDP port 9000, so they are easy to check before moving either endpoint to another machine.
Confirm that your FFmpeg build lists the srt protocol before starting. Keep encryption off for the first local test, and do not publish passphrases or private stream addresses.
Signal paths
Choose which endpoint sends the stream.
Caller always connects to Listener. For this one-PC check, both directions use the loopback address and UDP port 9000.
127.0.0.1:9000 · SRT / MPEG-TS SRT PreviewReceive and monitor
 SRT USB CAMCamera sender
127.0.0.1:9000 · SRT / MPEG-TSSend an FFmpeg test source to SRT Preview
Use the Basic and SRT tabs shown below to set the receiving endpoint before starting FFmpeg.
Set SRT Preview in the app.
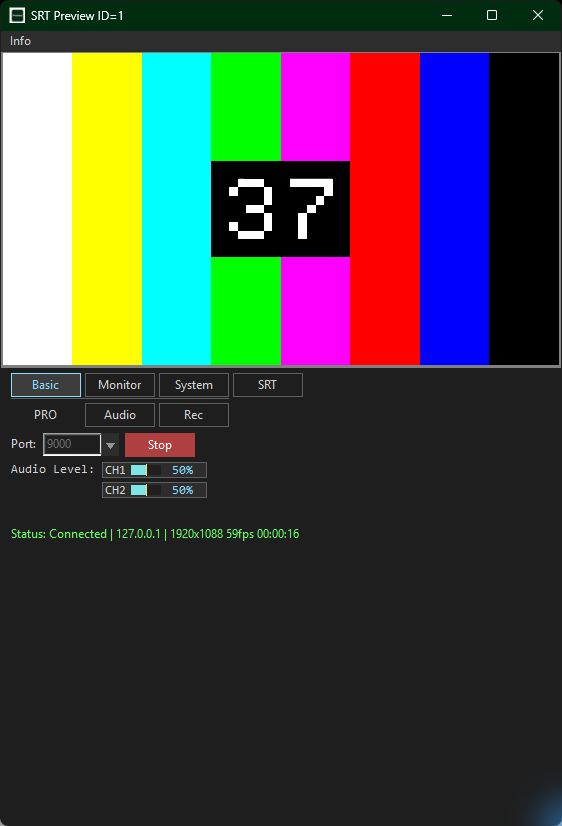
9000 for Port. Select Start before running FFmpeg; the control changes to Stop while reception is active.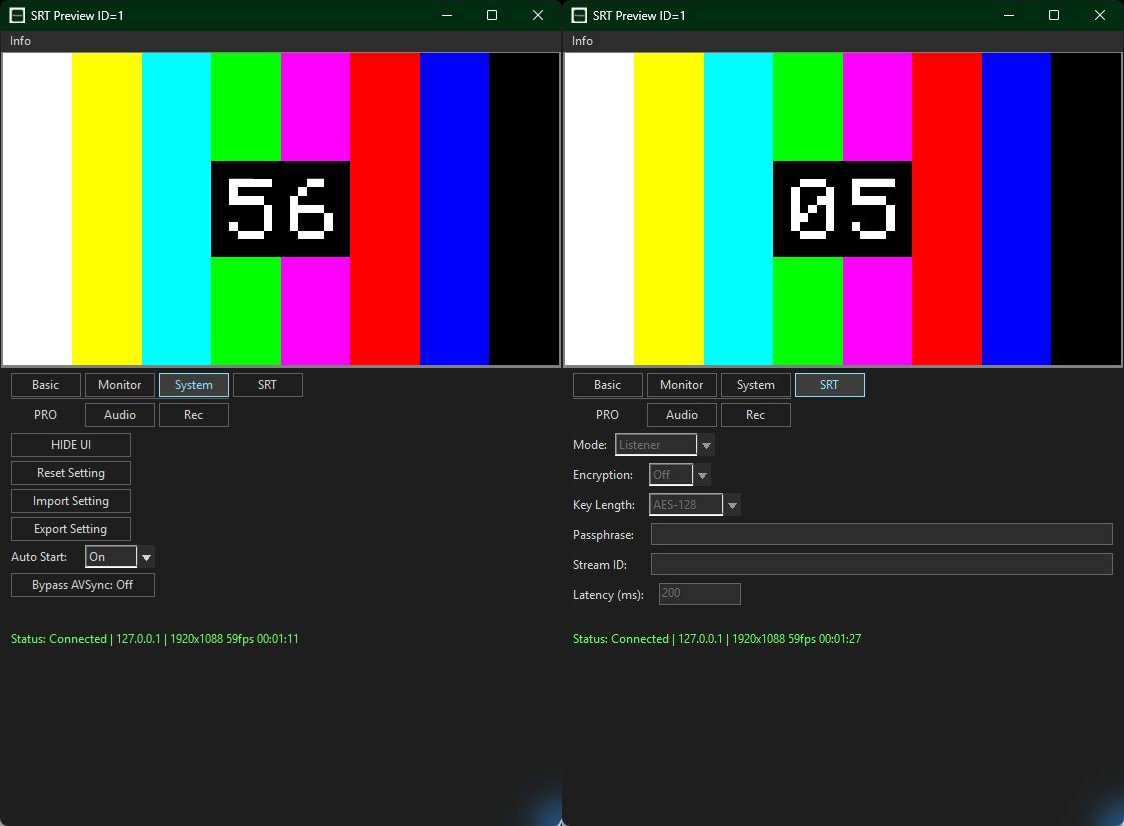
- Open SRT Preview.
- On the Basic tab, enter port
9000. - On the SRT tab, select Listener and keep encryption off.
- Return to the Basic tab and start reception.
- Run this command in a terminal:
ffmpeg -re -f lavfi -i testsrc2=size=1280x720:rate=30 -pix_fmt nv12 -c:v h264_mf -b:v 6M -f mpegts "srt://127.0.0.1:9000?mode=caller"
This sends a moving H.264 test pattern in MPEG-TS. The command intentionally has no audio source. SRT Preview should show the picture and update its bitrate, packet, resolution, and FPS values.
If your FFmpeg build does not provide the h264_mf encoder, choose an H.264 encoder available in that build while keeping the MPEG-TS output and SRT URL unchanged.
Receive SRT USB CAM with FFmpeg
Start the FFmpeg Listener before starting transmission in SRT USB CAM. To check the stream without saving it, run:
ffmpeg -i "srt://0.0.0.0:9000?mode=listener" -f null -
Use the Basic and SRT tabs shown below for the sending endpoint.
Set SRT USB CAM in the app.
The screenshots show the shared connection controls in the PRO window. The Basic and SRT tabs use the same fields in SRT USB CAM.
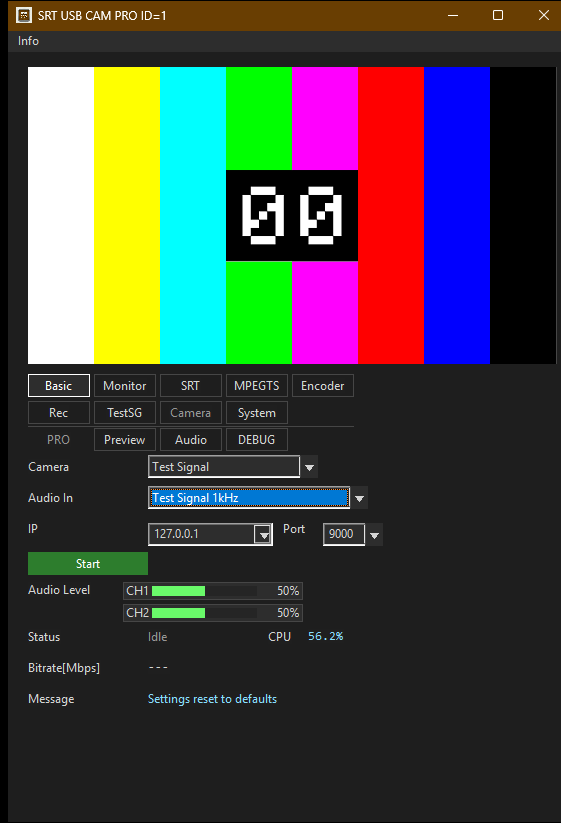
127.0.0.1 for IP and 9000 for Port. Start FFmpeg first, then select Start here.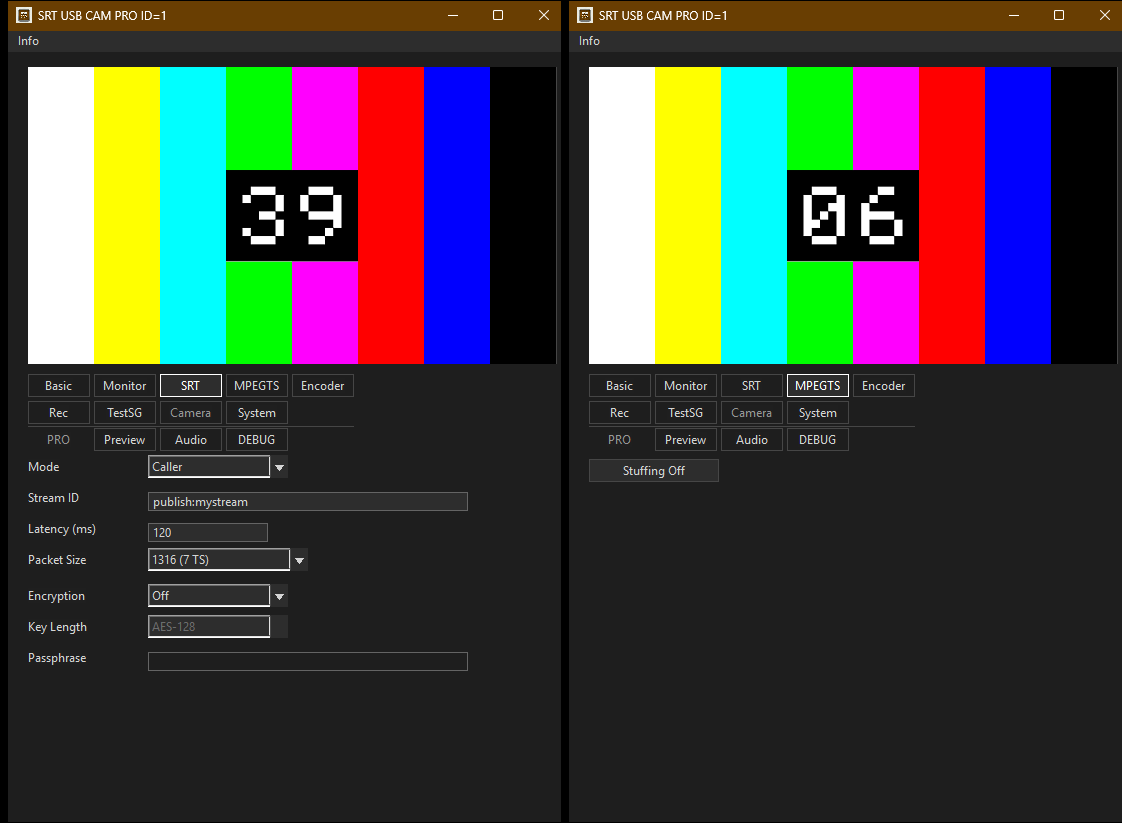
In SRT USB CAM, set IP to 127.0.0.1 and Port to 9000 on the Basic tab. Select Caller and keep encryption off on the SRT tab. Start transmission only after the FFmpeg Listener is running. FFmpeg should report the incoming MPEG-TS, H.264 video, and AAC audio when audio is enabled in the application.
To save the received transport stream without transcoding, stop the first command and run:
ffmpeg -i "srt://0.0.0.0:9000?mode=listener" -c copy capture.ts
FFmpeg will not overwrite an existing capture.ts unless you confirm it. Stop the command normally before checking the file so the output is closed cleanly.
Move the endpoints to separate PCs
Keep the Listener on the receiving PC. On the Caller, replace 127.0.0.1 with the Listener PC's reachable IPv4 address. Allow the selected UDP port through the applicable firewall and network path.
If the connection does not start, compare these values in order:
- One endpoint is Caller and the other is Listener.
- The Caller uses the Listener's address and both endpoints use the same port.
- The selected UDP port is allowed through the firewall.
- Encryption, passphrase, and key length match when encryption is enabled.
- The sender outputs MPEG-TS with H.264 video and, when used, AAC audio.
Start with the local unencrypted test again if several settings have changed. Once that works, move one endpoint or enable one additional setting at a time.